
J. Lilliane
Miniature Tarot Deck & Card Box
After I made some improvements to my free color your own tarot deck printable I wanted to double check my work to ensure the files would print correctly and scale to any size. It might be a freebie but quality always matters to me, so putting this miniature deck together served an important purpose: quality control. It’s supremely frustrating to find DIY projects that just don’t work as described — and I honestly try to make sure I’m not wasting anyone’s time (my own included) on something like that.
Supplies
You’ll need the following:
at least (6) sheets 8.5” x 11” Card stock
access to a printer, inkjet or laser — a cheap home inkjet will do nicely (thats what I used!) but you can always go to a copy shop for a higher quality print.

Process
Really, this process was fairly straightforward but let me break it down into steps:

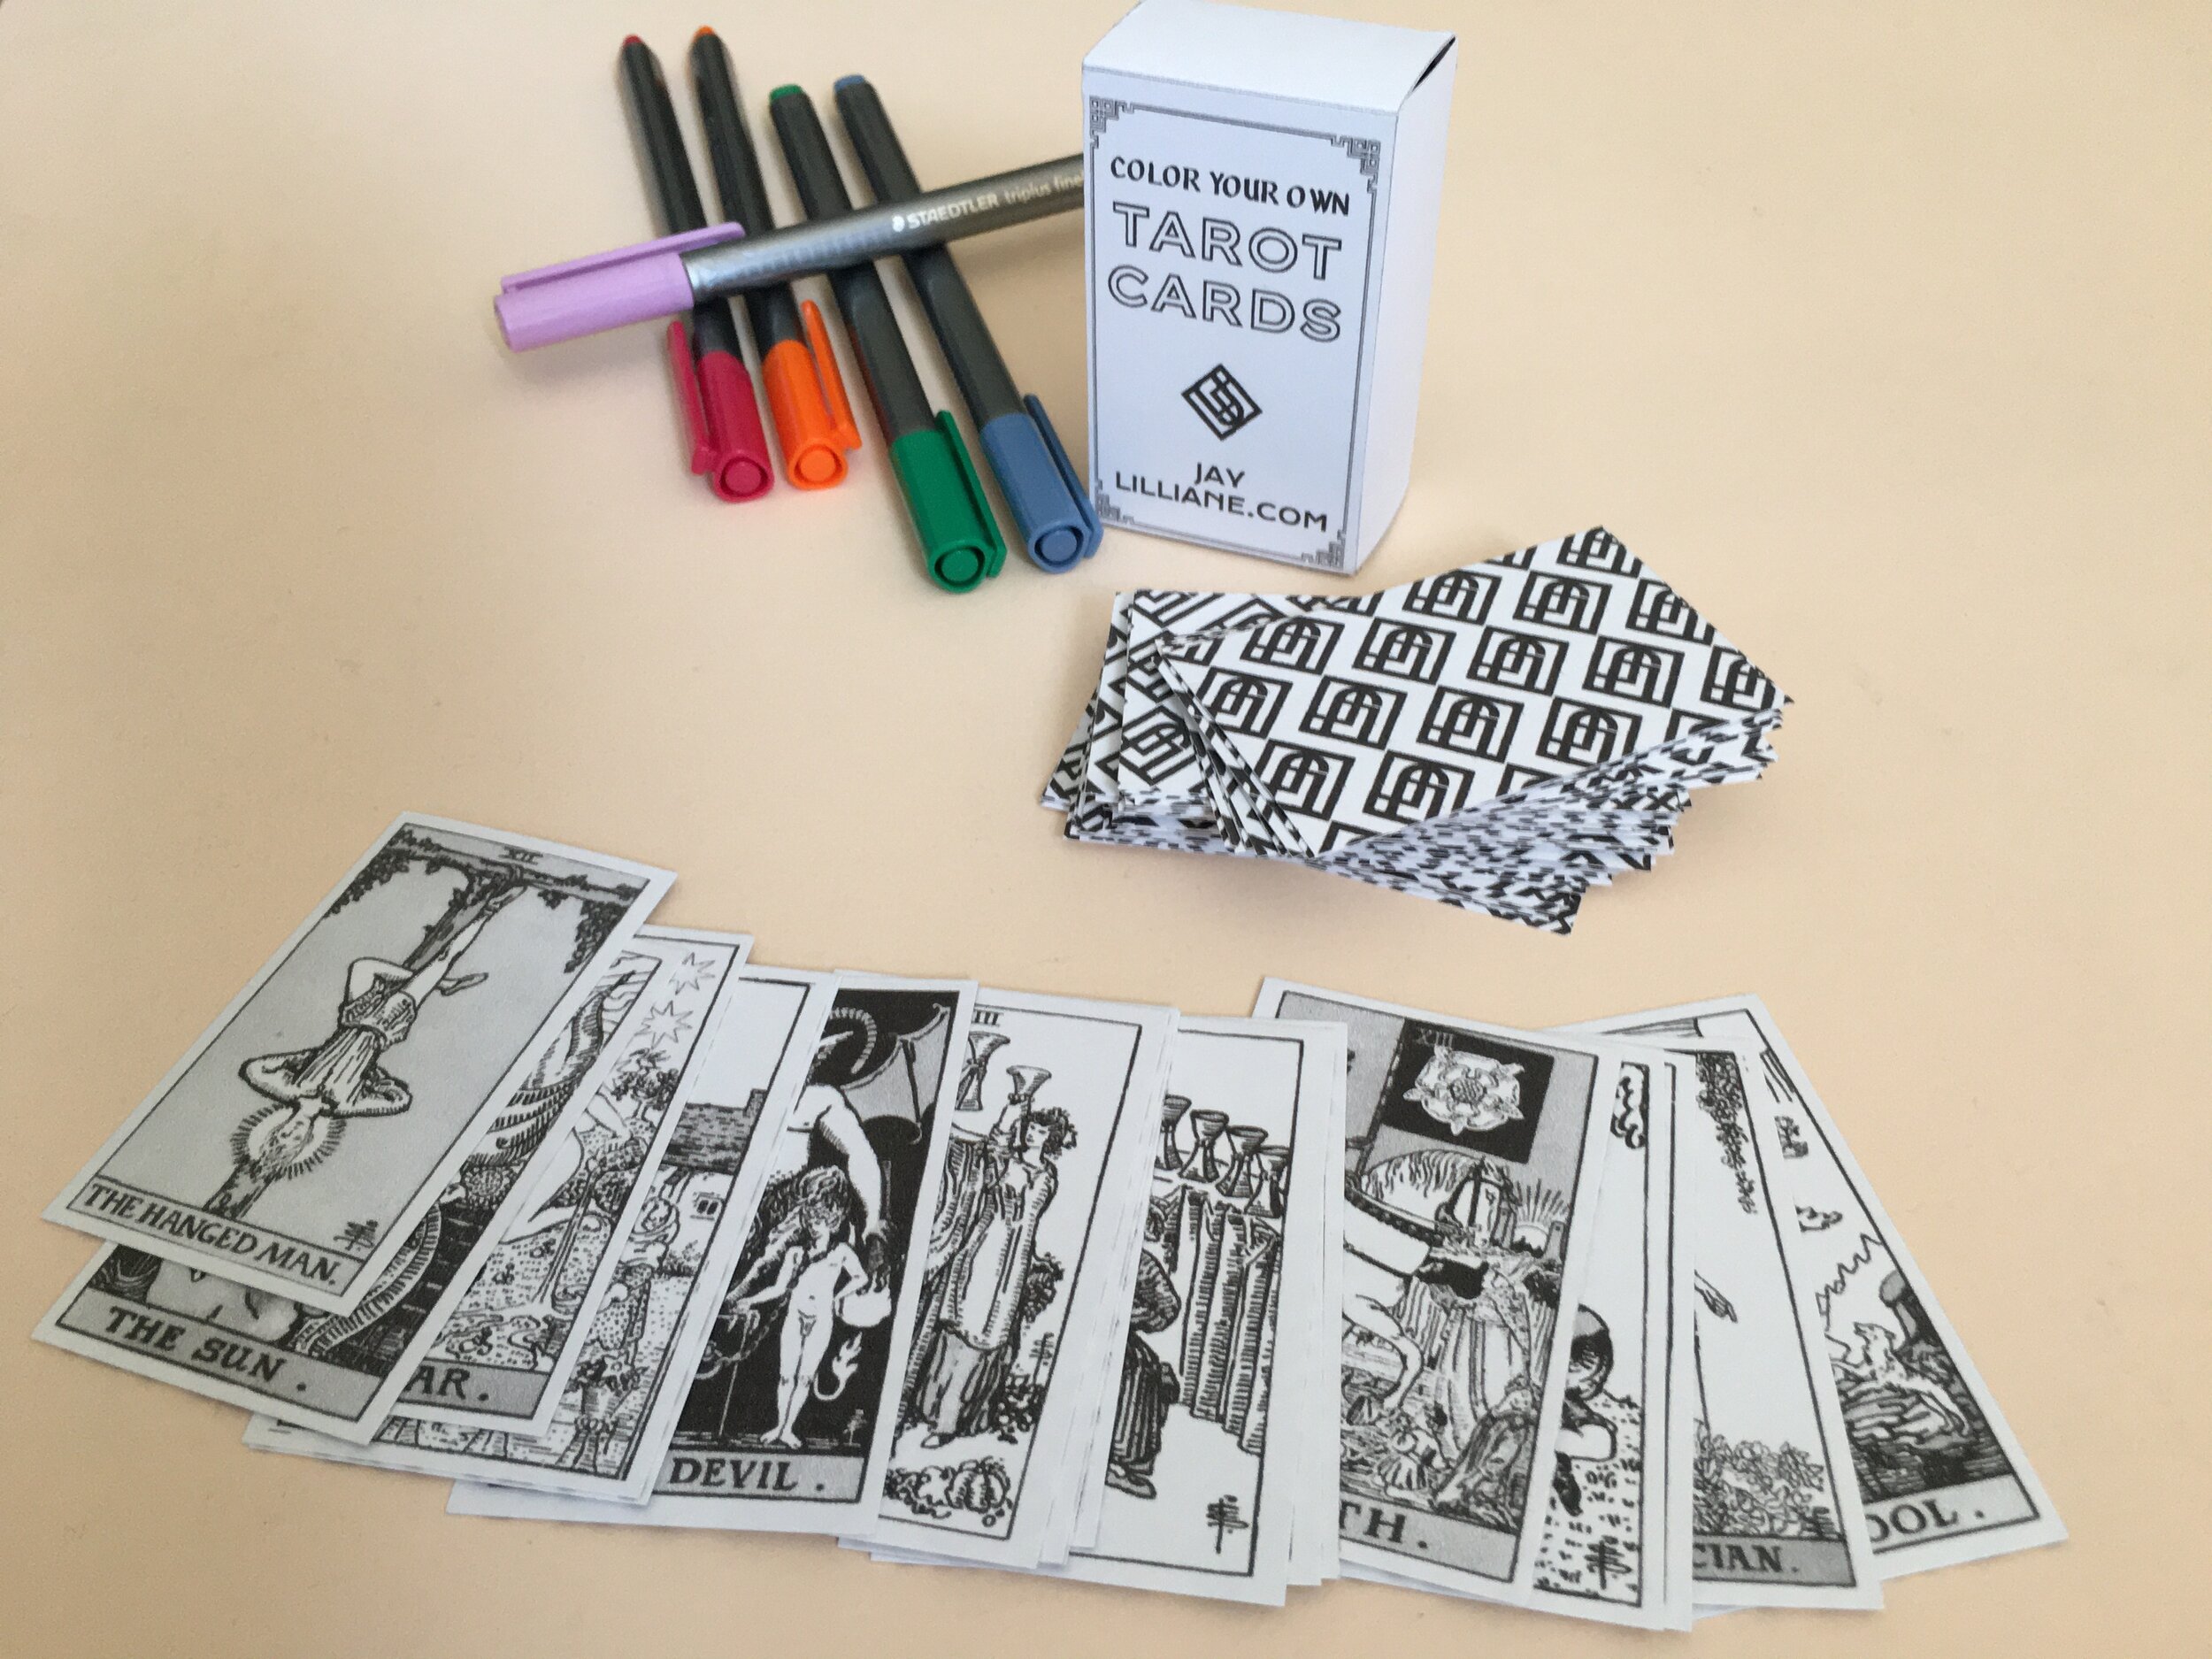
Download the files here (I used the Rider Waite Deck) and unzip/decompress them.
Print the PDF with these settings adjusted:
Borderless printing enabled, Highest quality print, Black & White, Pages Per Sheet: 4
This will put 16 cards on each sheet of paper, which means it’ll only take five sheets of card stock to print the entire deck!
Print the reverse side of the cards. I prepared a pattern made of my logo/glyph in Adobe Illustrator beforehand, scaled it appropriately and then generated an 8.5” x 11” sheet of that pattern. I printed it with similar settings (Borderless, Highest Quality, Black and White). My printer unfortunately does not have double sided printing as a feature so I just manually oriented the printed card pages so that the blank side would be printed. Most printers have a diagram where you load the paper which indicates which side of the paper will be printed when loaded correctly. Do some test prints or pay attention to this diagram to determine how to load and orient the sheets so that only the blank side is printed on.
Cut the cards! It’s really helpful if you can use one of those paper cutters with a large slicing arm blade so that you can get straight, consistent cuts. You want the cards to be as similar in shape and size as possible, which frankly… can be much more difficult than it looks! Make sure to print some extra pages just in case you make a bad cut (I don’t know about you but I’m only human!).
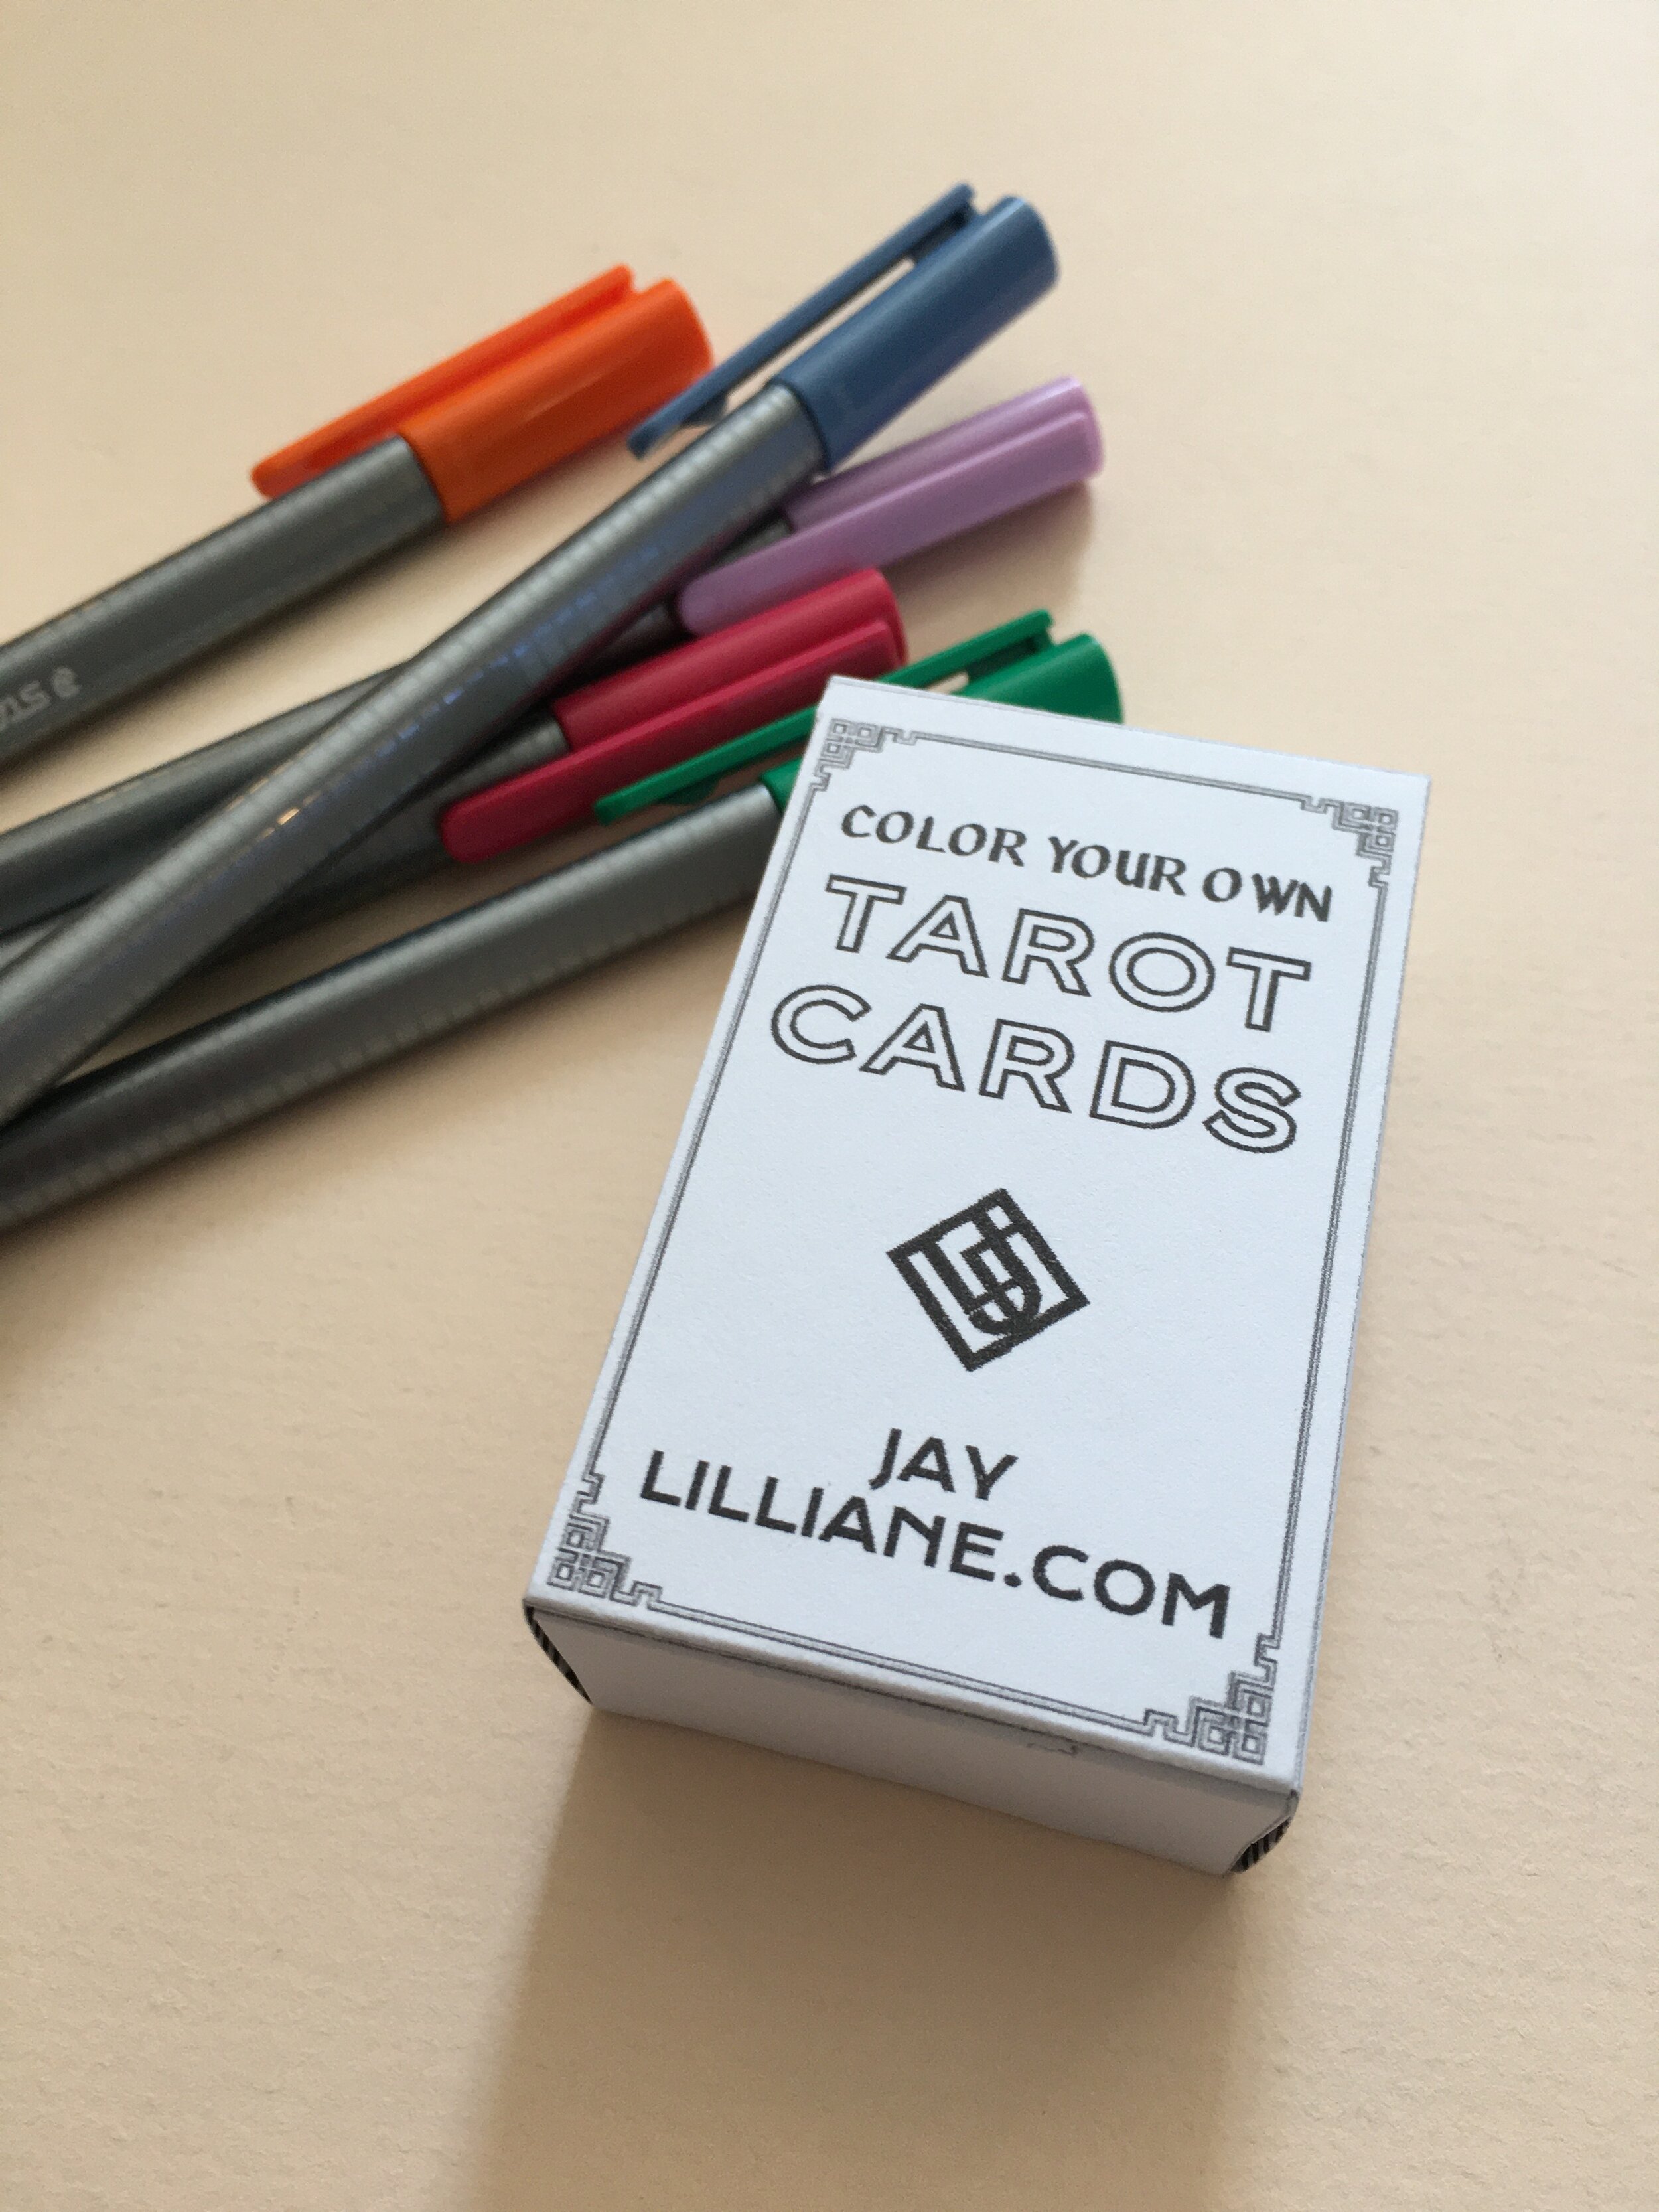
Custom Card Box
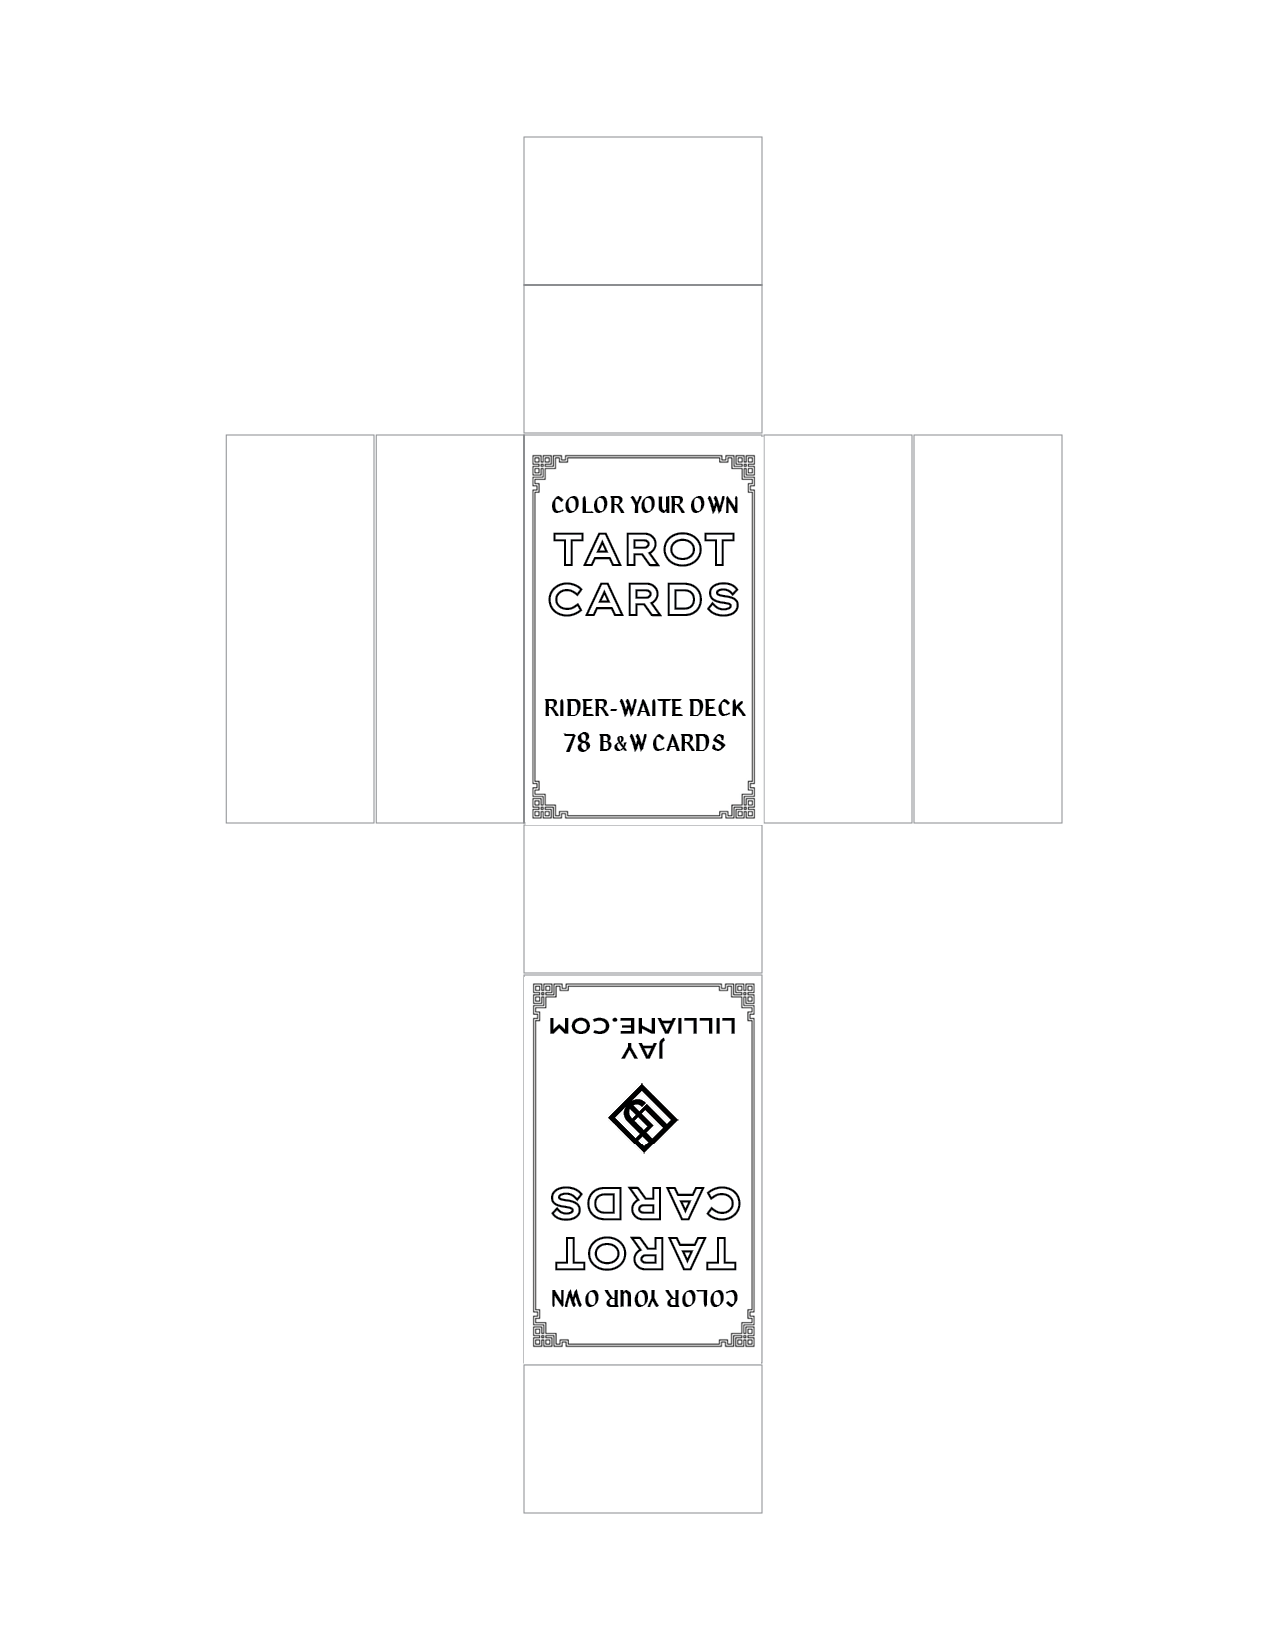
I made a custom card box for my deck as I thought it was hardly complete without one. Feel free to design your own box as mine isn’t quite as perfect as I’d like but I’ll provide my template nonetheless. Maybe looking at it will help you design yours even better… if nothing else, looking at templates like this one can help you wrap your brain around all the tabs and panels you’ll need to construct it.
Outside of the box.

Inside of the box.
For my box, I decided to repeat the pattern I printed on the back of the cards on the inside of the box — I know they say the devil is in the details but I’d argue that’s just where a good craftsman puts their skills to the test. Take notice of the orientation of the text on the panels. These will become the front and back facing panels on the box. What my photos don’t show is how my box has one of those panels oriented incorrectly, which is something I’ve corrected in these images so you don’t make the same mistake.
To make your own box like mine, use this blank template. Print the sheet double sided if you want to include a pattern on the inside of the box.

Card Box Template